Just until recently, 3D-printers were incredibly expensive and unobtainable for Joe Average. Fortunately, this technology has dropped in price significantly over the last few years and it has become hugely popular. For my own personal needs I use a Wanhao i3 Mini, which I use in combination with Viacad Pro.
In the next few minutes, I’ll show you some tips and tricks about this topic. So, grab a coffee and fasten your seatbelt. We’re ready to take off!
Designing FDM-friendly parts
The big advantage of 3D-printers is their ability to print highly complex shapes. This allows part-geometries, that are nearly impossible to make, using traditional methods like milling and turning. But even though a 3D-printer can print nearly every shape, there a still quite a few things to consider. A very good starting point for designing FDM-friendly models can be found here:
https://www.3dhubs.com/knowledge-base/how-design-parts-fdm-3d-printing/
Checking for manufacturability
Nowadays, an average slicer like Cura or Simplify3D has all the necessary tools to check your parts for manufacturability. However, Viacad has some built in features as well, which lets you analyze your parts during the whole design process.
You can access these tools in Viacad by going to: Windows / 3D Print Tools. The tools in this pallet are fairly simple to use and allow you to check your models very quickly.

3D Print Check
This feature is an overall check for your 3d-print.
Surface Normals
Checks if all surfaces face in the right direction. You might need this feature, if you work with surfaces and/or imported meshes.
Thickness
Using this feature, you can see if all parts of your geometry have the required minimum thickness.
Slices
Let’s you slice your object. The slices can also be exported, if needed.
Position
Arranges your parts in the build area of your printer. If you want to arrange more than one part, be sure to select them all by dragging a window over them. Shift-Selecting multiple parts seems not to work with this feature!
Structure
You probably won’t need this feature, as slicers already have options for support structures.
Volume
Shows/hides the build volume of your 3D-printer.Definitions
Let’s you define and pick the build volume of your printer (Needed for Volume and 3D Print Check)
Exporting an STL-file
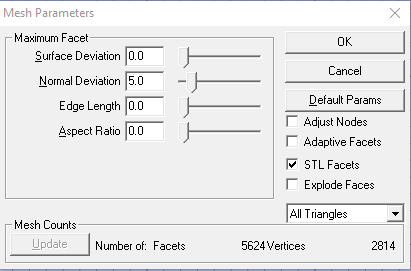
Slicers for 3D-Printers usually need an STL-file, in order to convert your model into a G-code. To export an STL, go to: File / Export, choose STL from the list and click OK. After choosing a file-path, the Mesh Parameter Menu opens up. This menu allows you to change your mesh in various ways.
In order to get a nice and clean mesh, you might have to play around with the parameters a little bit. I suggest you try out the parameters one by one, to get a feeling of what they do.
Note: You can also type in numbers, to set higher values than achievable by using the sliders!
Here’s a short summary on how these parameters work (Based on my own experience):
Surface Deviation
My favorite parameter! It creates a dense mesh in curved shapes of your part while using very few vertices in straight surfaces.
Normal Deviation
Similar to Surface Deviation, but with one big drawback: This parameter changes the density of the mesh based on the curvature. That way, a 100mm radius and a 5mm radius have the same number of vertices. This makes Normal Deviation basically unusable if you have parts with big differences in diameters and radii.
Edge Length
As the name suggests, this parameter is based on a minimal edge length of the vertices. This creates a very uniform mesh with an extremely high polycount (No matter if your surfaces are flat or curved).
I personally use this parameter almost only in combination with Surface Deviation. I first set the Surface Deviation to a fine enough mesh density and then use an Edge Length of a few Millimeters to add a few vertices to flat surfaces. This usually results in cleaner mesh.
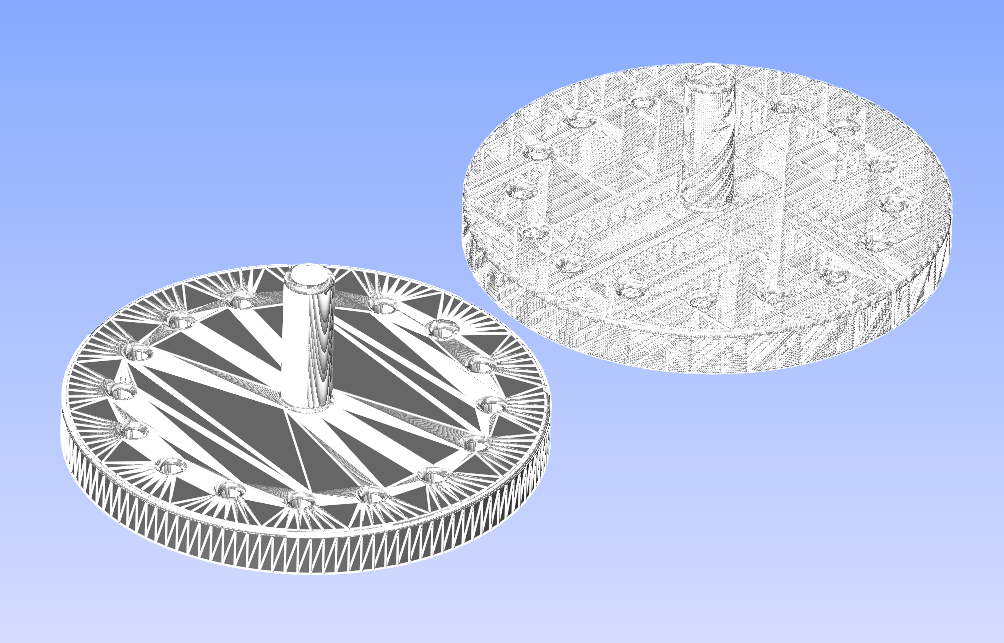
If you print these examples, you will still see the vertices at the biggest diameter of the left part, whereas the mesh on the right is dense enough in all places .
Aspect Ratio
Can be used in combination with other parameters, but I never really use it.
How many vertices do I need?
As you can imagine, more vertices generally result in a better-looking print. The bottleneck in this scenario is usually either Viacad itself, or the slicing software. A high vertex count will slow down your software and may even lead to a crash. I usually try to stay below 100’000 vertices. That’s normally enough for a good looking 3d-print.
Gentleman, start your engines!
Now that we’ve got it all sorted out, let’s all heat up our printers and make some stuff. I hope you learned something in this tutorial.
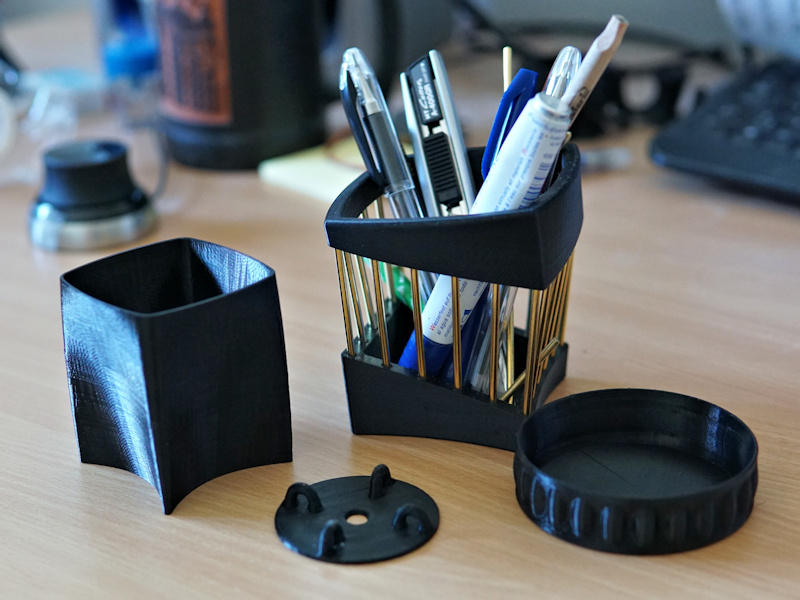
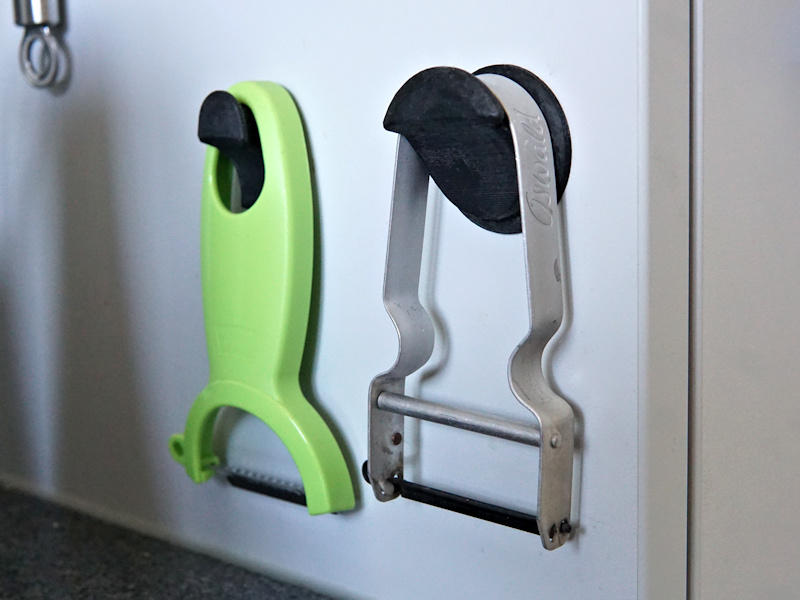
Finally, I’m going to show you a few of my own parts. They were all created in Viacad and printed on a Wanhao i3 Mini. Enjoy!