This is a project I made for the Michelin Challenge Design a few years ago. The goal was to create a racecar for Le Mans in the year 2030. My contribution was an electric car called the “DONAR LMPe”.


A blog, all about CAD and various other technical stuff
This is a project I made for the Michelin Challenge Design a few years ago. The goal was to create a racecar for Le Mans in the year 2030. My contribution was an electric car called the “DONAR LMPe”.
Many people around the world use the same 2-3 programs all day long. And yet, many of them could be much more productive, if they spent a little time to learn and customize their applications.
In this tutorial I will show you, how you can speed up your modeling workflow by customizing the Viacad user interface (UI) to your liking.
So, what is
important for a good UI? One vital factor is space. Especially people with
small screens want to keep as much of the available space as modeling area. On
the other hand, having many toolboxes and features on the screen leads to fewer
(unnecessary) clicks, which improves your speed of working.
So, if you are tired of tear-away toolboxes and clicking around like a maniac,
keep on reading…
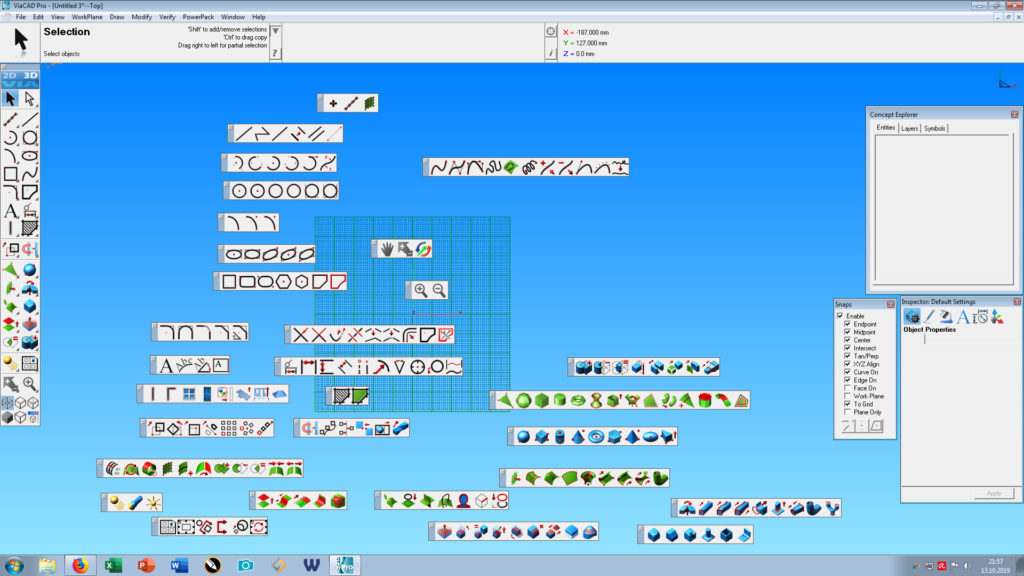
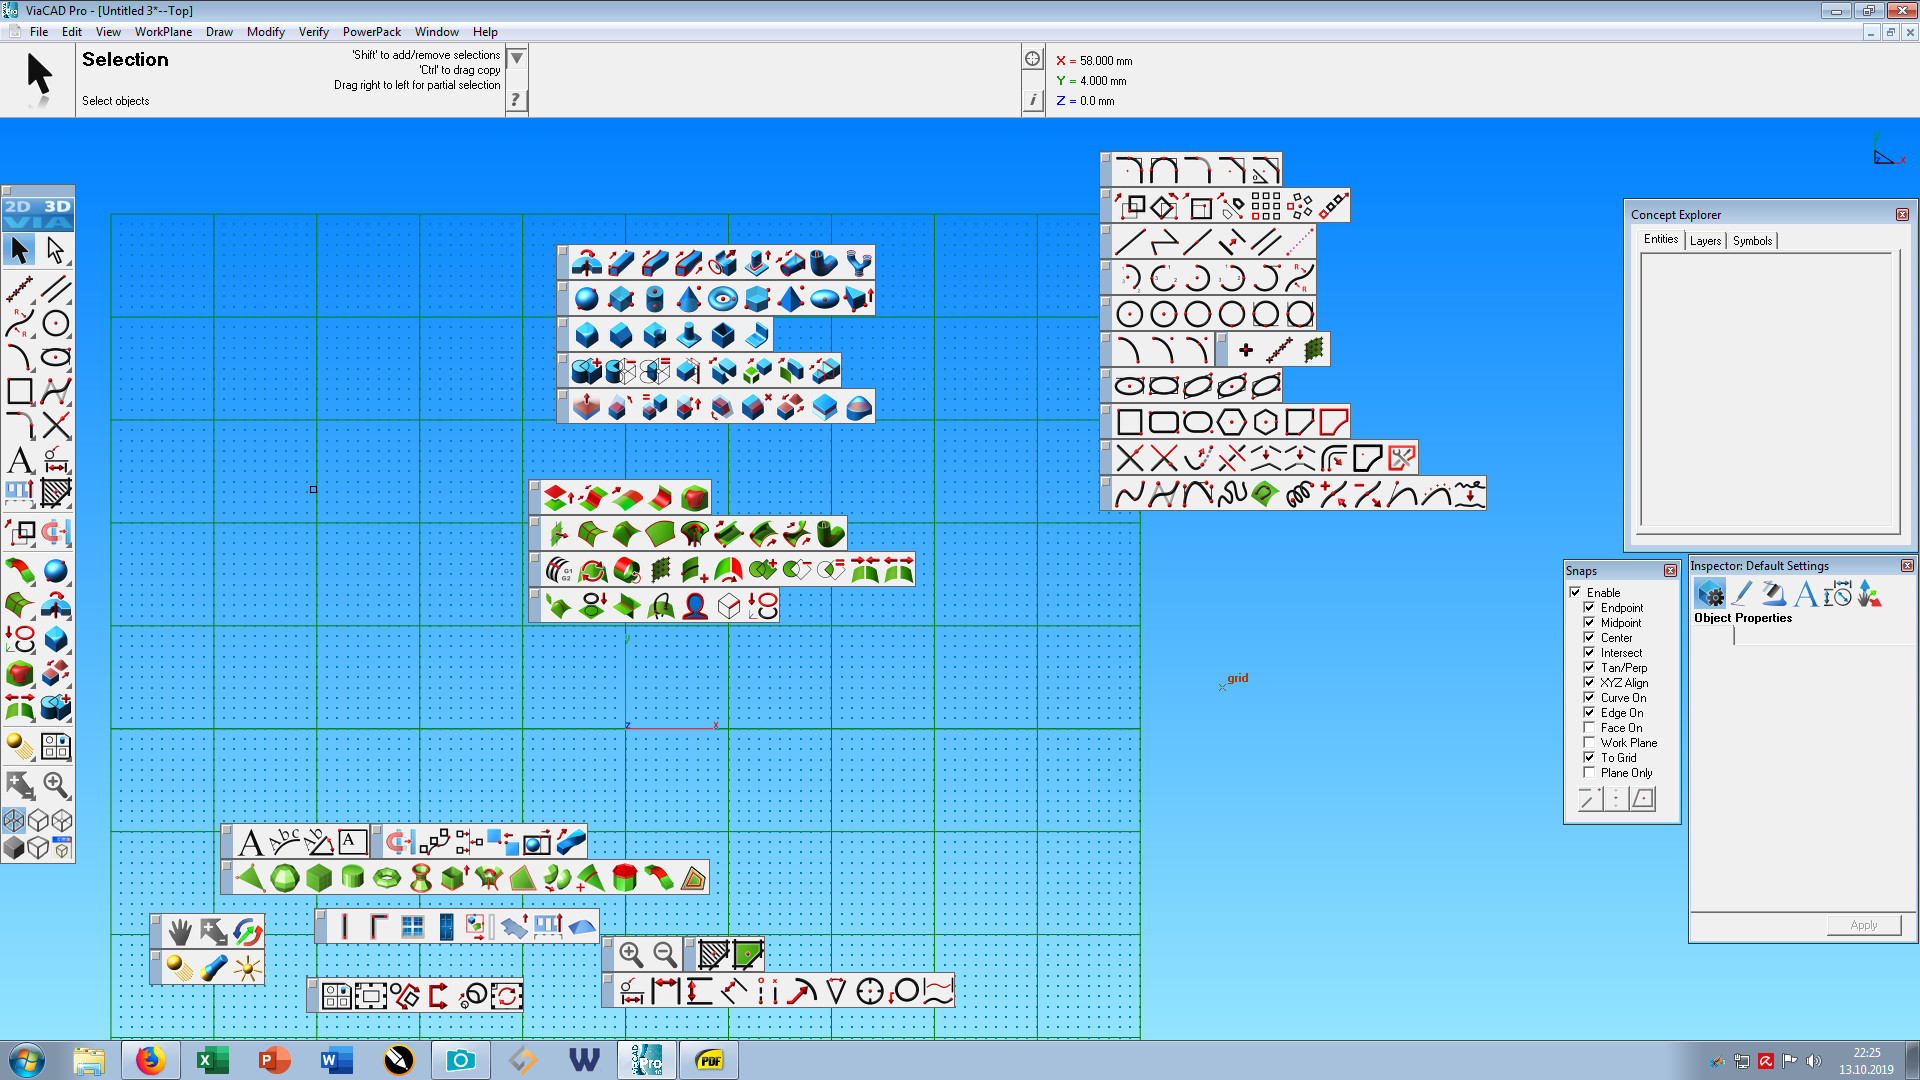
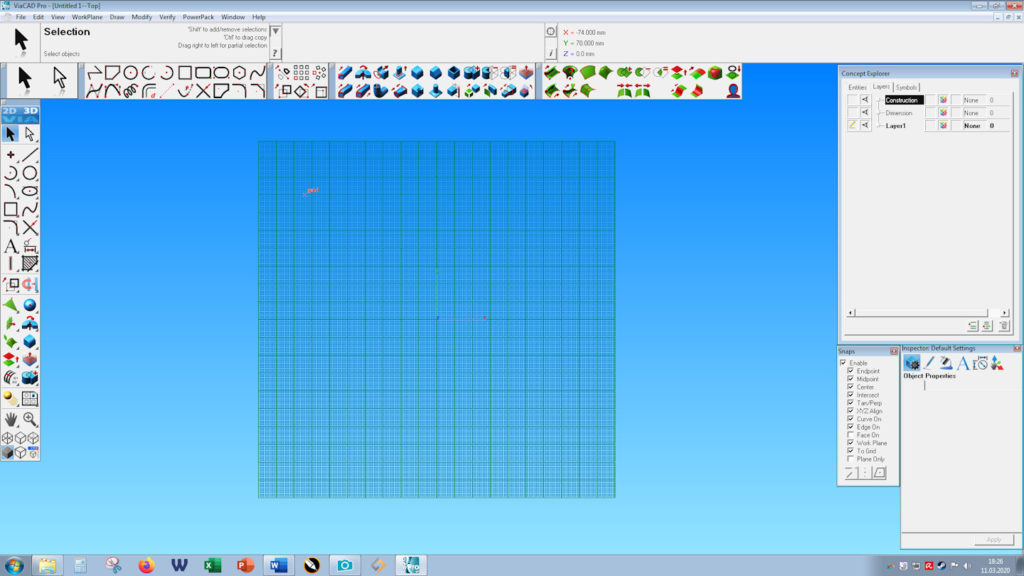
To start, open Viacad or Sharkcad. Then, tear of or open every toolbar available and move it into your workspace (Yes, EVERY toolbar). Depending on which version of Viacad/Sharkcad you use, it should look more or less like this:
Once that’s done, group all those toolbars on-screen. Put all the solid features to one place, mesh features to another and so on.
Now before we continue this tutorial, you might want to have an in-depth look at all those features. It’s quite possible you find a few features you didn’t even know existed. Maybe there’s even 1 or 2 feature you could use in your daily work.
Now that your computer screen is littered with features, take a screenshot. Print it out and get yourself a hot cup of coffee. You deserve it! Take the printed screenshot and cross out every feature you don’t need. At the end, only your most-used features should remain. Remember, every feature is still available from the main toolbar or the menu bar, so don’t worry about removing too many features.
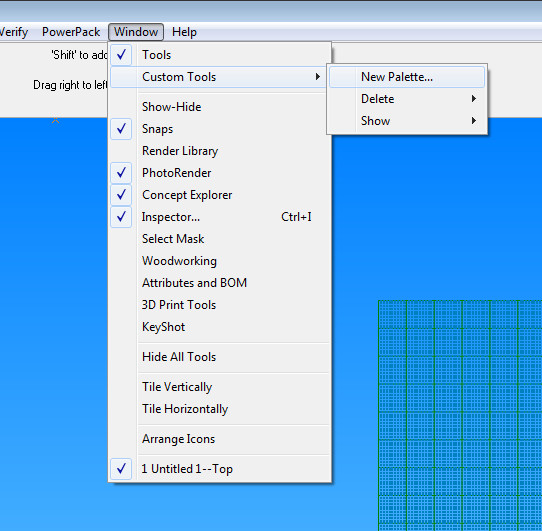
Back in Viacad it is time to create the new toolbars. Go to Window -> Custom Tools -> New palette, to create a new toolbar.
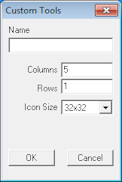
You are completely free how many rows and columns of icons you want and how big these icons should be. The absolute maximum is 50 features per toolbar, but you probably won’t need that many. I recommend to make a about 3-5 toolbars that cover all the different fields (All solid tools in one menu, all surface tools in another, etc.). Count how many features you need in each toolbar and adjust them however you like them. As soon as you have created these empty toolbars, you can fill them with the desired features by rightclick-dragging them from a standard toolbar to your own custom toolbar.
All you have to do now is putting these custom toolbars at the desired place of your screen and enjoy your new workspace. In the picture below you see my personal workspace.
Every important feature ist just one simple click and yet the workspace still looks very neat and tidy.
Alright, we’re done. Time to get another cup of coffee
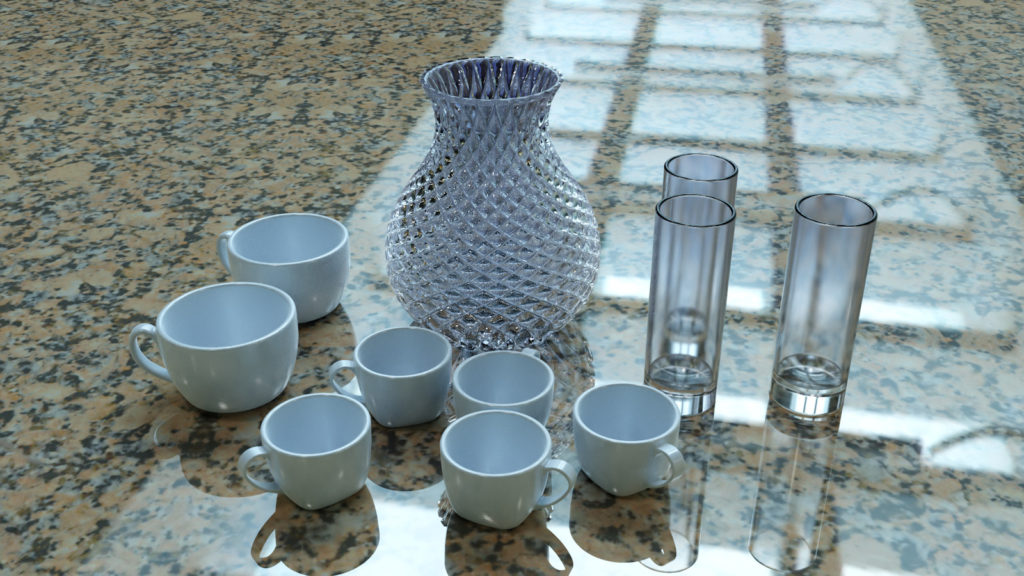
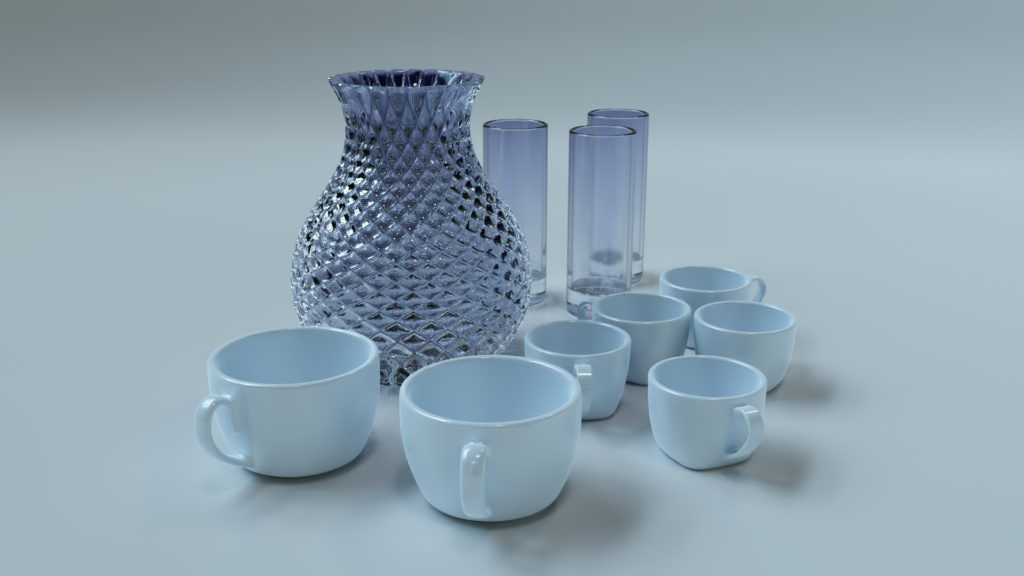
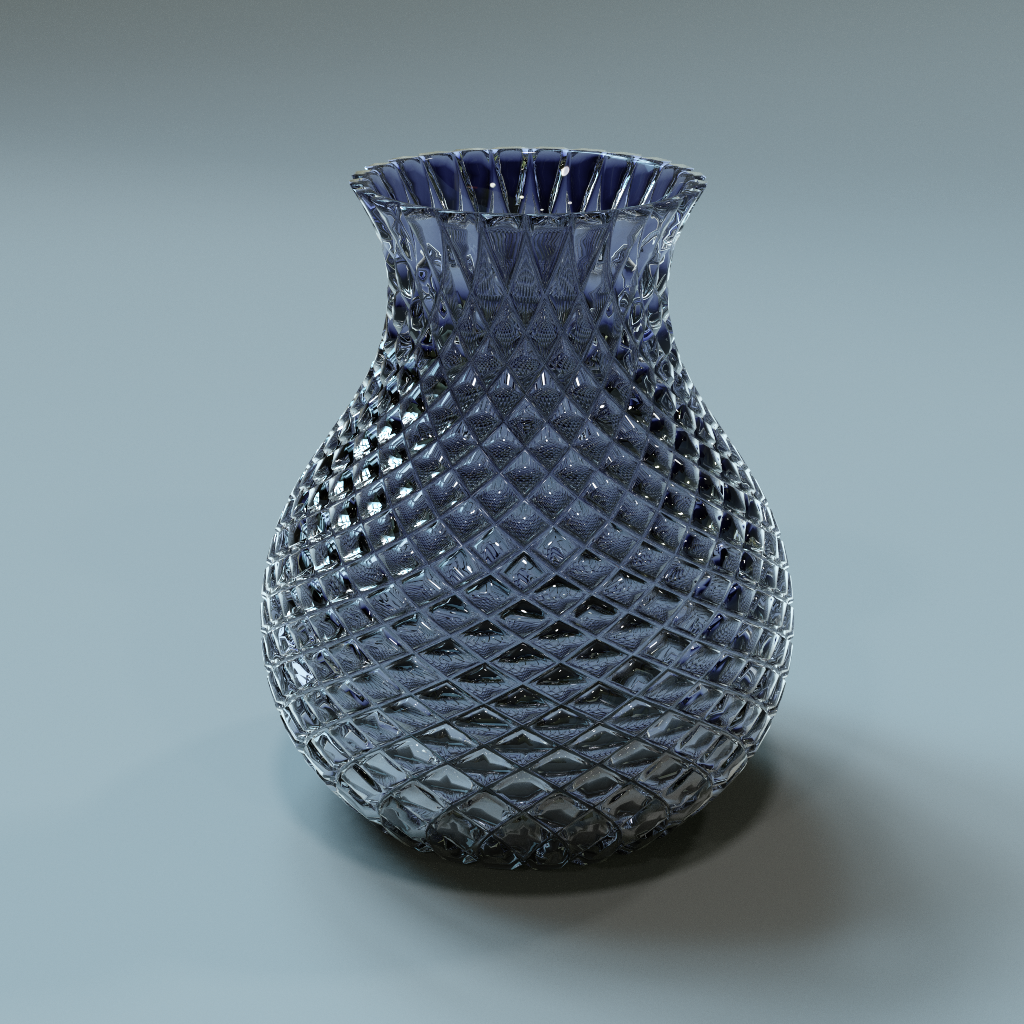
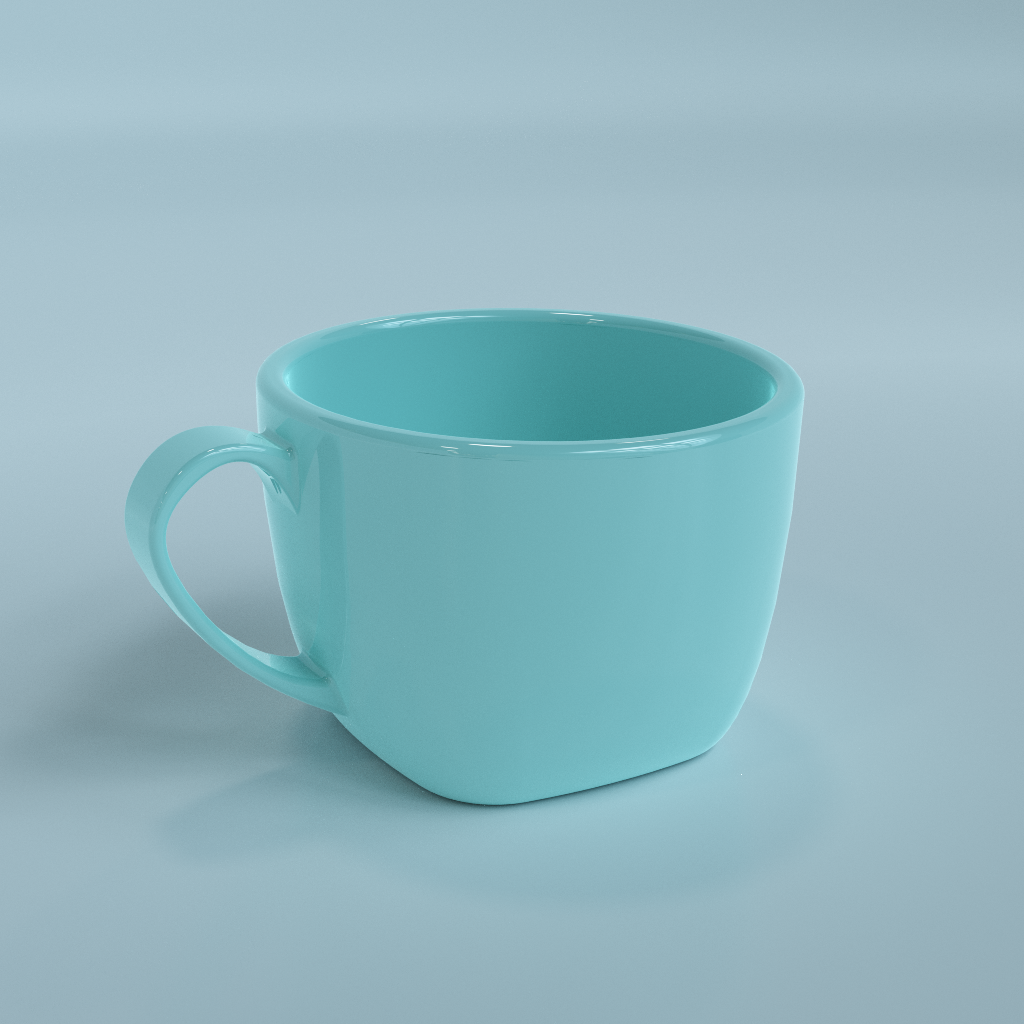
All of those dishes were made in Viacad Pro and rendered in Simlab Composer. Some post-processing was done with Neat Image and Paintshop Pro.
Alright, that title might be a bit misleading, but isn’t everyone exaggerating on the internet? Anyway, Surface modeling on any CAD can be quite tricky. Especially the so-called “Class-A”-modeling seems to be witchcraft to the average CAD user. Luckily there are tutorials online for everyone and everything.
As I am a bloody amateur myself, I might be the wrong guy for such a topic. But why should I make something that already exists anyway?
I found an absolutely amazing introduction to surface modeling on the internet. It’s made by the guys from Autodesk Alias. Alias is the ultimate surfacing software right now. So, I assume the Alias-people are more than capable to make such an “Ultimate Surfacing Tutorial”.
There might be a few parts which are for Alias only, but 90% of their tutorials and tips work with basically any CAD.
Anyway, here’s the link:
https://knowledge.autodesk.com/support/alias-products/getting-started/caas/CloudHelp/cloudhelp/2019/ENU/Alias-Tutorials/files/GUID-358AC713-21D6-40B5-9C43-74D26334B3F0-htm.html
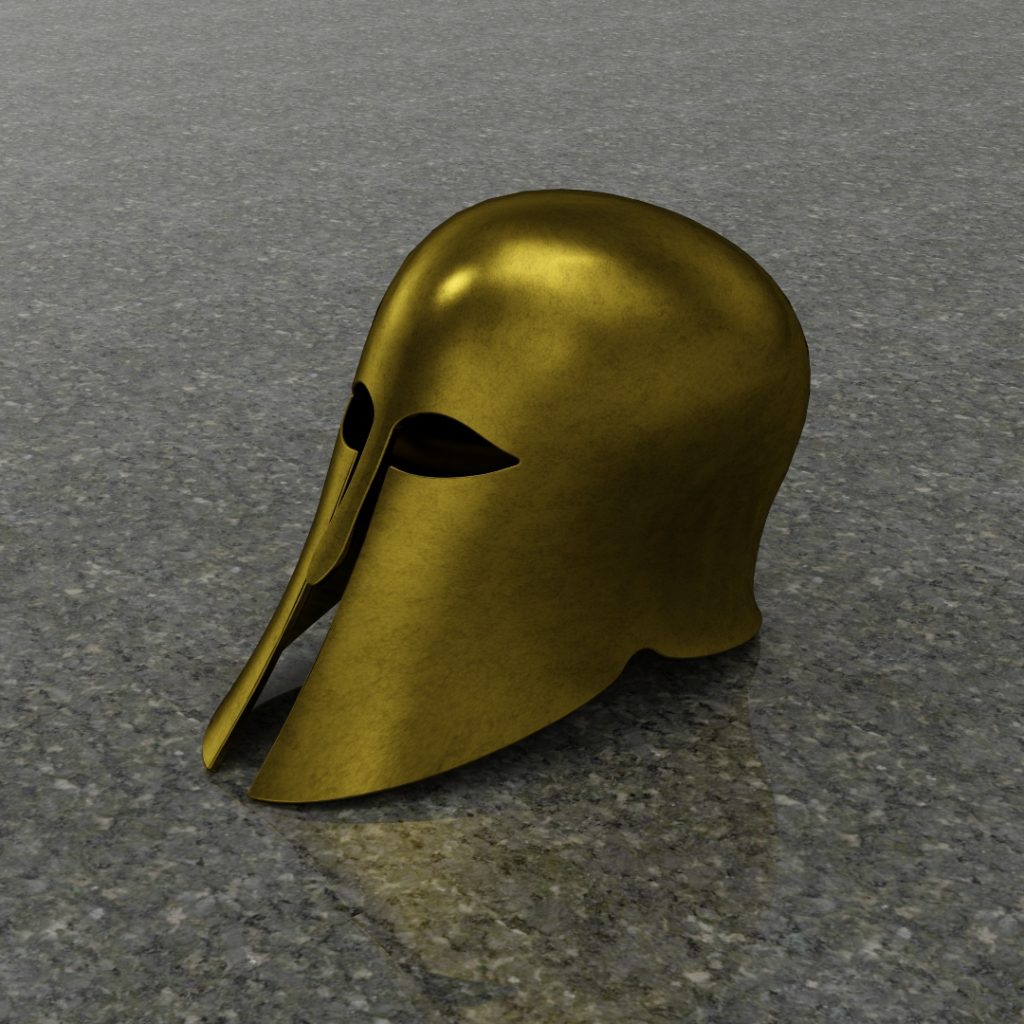
The first time is always special, isn’t it? It’s somewhat magical and weird and not very rarely way too short. So, I guess I’ll keep my first blogpost short as well and just show a single picture. It’s a rendering of an ancient Corinthian helmet. It’s modeled in Viacad Pro and rendered in Simlab Composer. Enjoy…